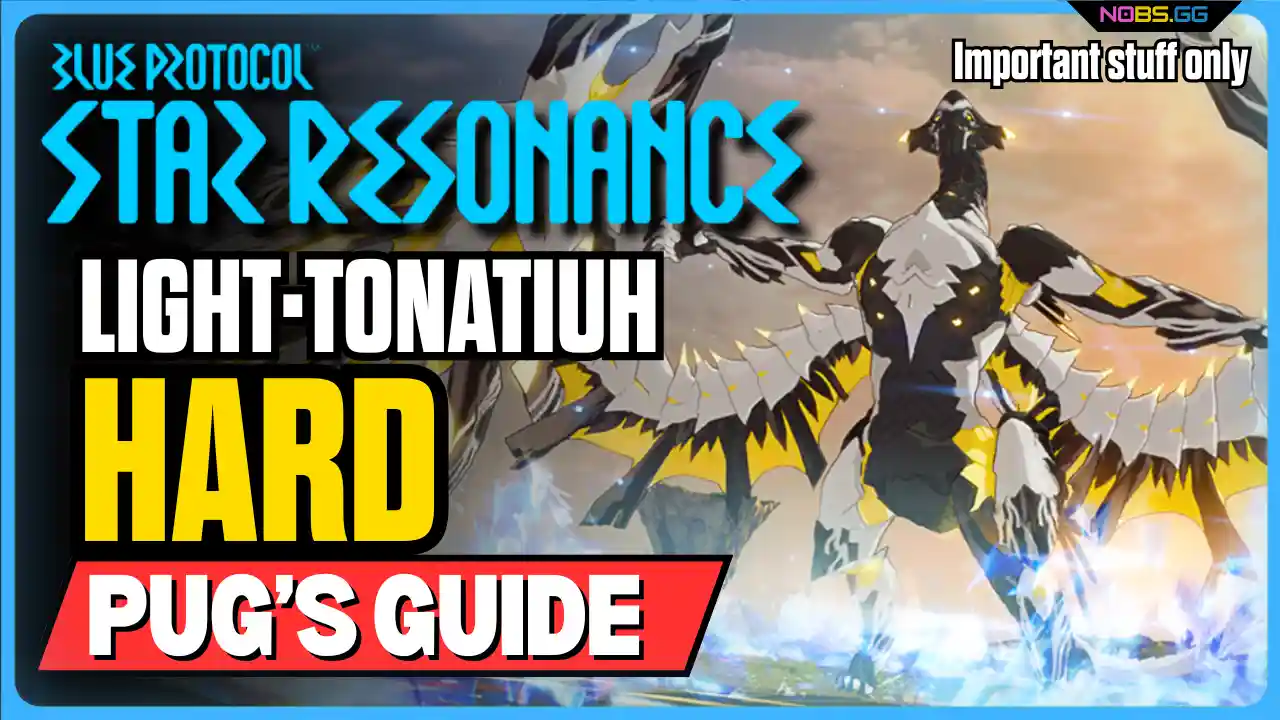
Blue Protocol: Star Resonance — Light Dragon Hard Raid Guide
The Light Dragon Hard raid in Blue Protocol: Star Resonance might look intimidating at first glance, but don’t worry — it’s actually easier than it seems! Many players have been calling this fight complicated, yet with a bit of coordination and awareness, it’s far more manageable than the previous raid. Here’s a full breakdown of what to expect and how to clear it smoothly.
Opening Phase
When the raid begins, you’ll have a short window to deal some solid DPS. Tanks should position the boss facing away from the party, keeping it near the center of the arena. This positioning is key to avoiding unnecessary damage to melee players.
Shortly after, the boss will unleash a tank buster. The tank should step slightly away from the group to soak the attack safely. After that, the boss targets two players with AoE markers — one player should move toward the center, and the other toward the edge. Two crystals will spawn at these locations.
Crystal Mechanics and Breath Attack
Keep an eye on the boss’s face — this is where the Breath Attack animation becomes important. The attack happens soon after the crystals appear. When you see it, move close to one of the crystals. Any player can activate it to generate a shield that protects everyone from the massive AoE that follows.
Immediately after the Breath Attack, the boss will cast Purifying Light: Focus. This is an AoE that moves inward from the outer edge of the arena. To avoid it, use the crystal to teleport to the opposite one.
Once teleported, three players will be marked with a stack AoE. The group should gather together and soak the hit as a team. It’s simple and highly consistent.
Repeating Mechanics: Focus and Scatter
The key advantage in this fight is predictability — the boss always repeats mechanics in the same order.
First Round: The boss casts Purifying Focus, so move to the center crystal.
Second Round: It will cast Purifying Light: Scatter, so this time head for the outer crystal.
Afterward, you’ll encounter the same cycle again, just reversed. Watch the boss’s face for the Breath Attack, activate the crystal for the shield, and stay alert for the golden fire animation in the middle of the arena. That animation signals the next Purifying mechanic — rush to the correct crystal immediately.
Occasionally, the boss will target a random player with an AoE. If it’s you, just move it away from your teammates to avoid splash damage.
Island Phase: The Final Mechanic
Eventually, the entire arena will light up with AoE indicators. That’s your cue to move either left or right to jump onto the floating crystal islands.
Party 1 should go left.
Party 2 should go right.
Face your island while moving — the teleport can occasionally bug out if you’re not facing it properly.
Once you’re on your island, you’ll see two crystals with shields. Both sides must destroy their crystals simultaneously. You can monitor both crystals’ HP on the left side of your screen. After breaking the shields, players receive a debuff that increases damage taken from that same crystal. To manage this, use the teleportation device to switch sides and balance damage output.
After both crystals are destroyed, jump back into the arena and resume the fight.
Final Phase: Orb Management
In the last stretch, orbs will spawn around the arena. One player should pick up an orb and move it a bit away from the group to create space. The key here is avoiding overlapping AoEs — that’s the only real danger. As long as the orbs are spread out, your team should survive comfortably.


Leave a Reply